 Save Pin
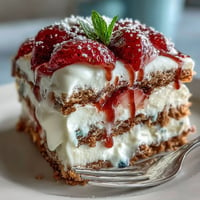
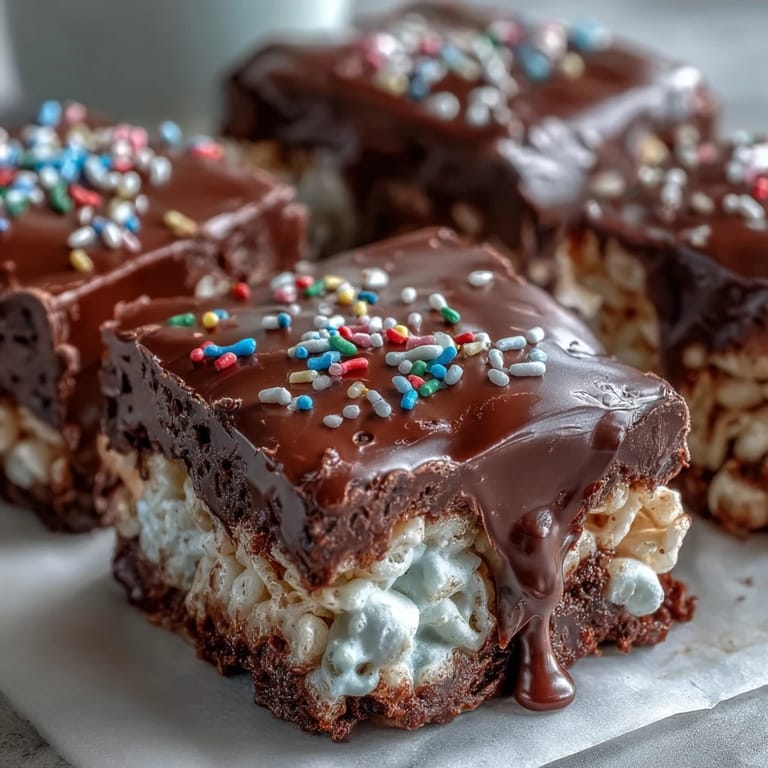
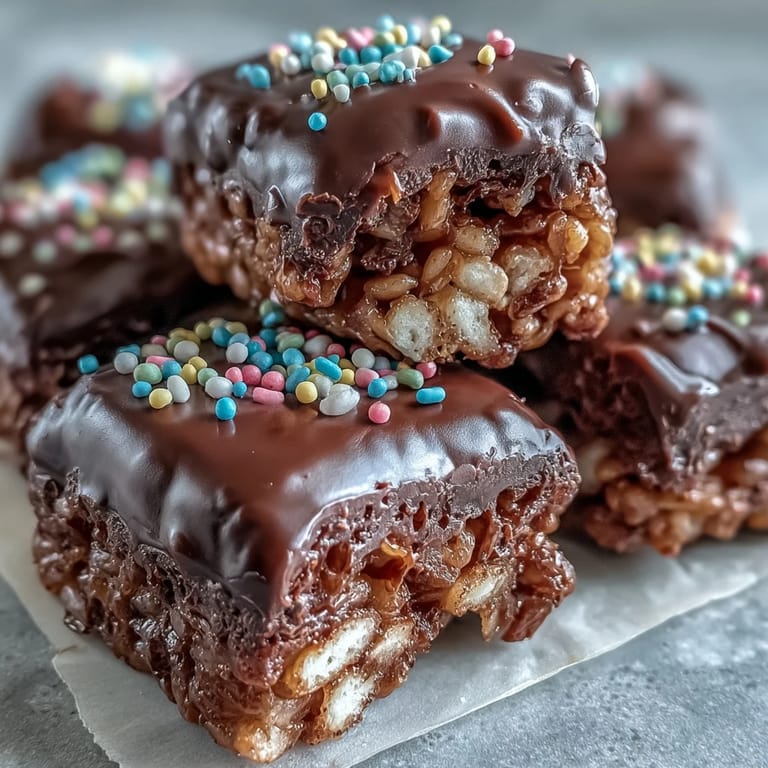
 The smell of melting marshmallows still takes me back to rainy afternoons at my grandmother's house, where we'd hover over the stove watching that white fluff transform into something magical. I was probably eight the first time she let me stir the pot, and I remember being absolutely mesmerized by how something so light could become so gloriously sticky and sweet. These chocolate covered versions became my own twist years later when I wanted to dress up that childhood favorite for a birthday party. The first time I poured that glossy chocolate over the familiar crispy treats, I knew I'd stumbled onto something special.
I made these for my daughter's school bake sale last spring and watched them disappear within minutes. Moms were actually asking for the recipe, which felt like a personal victory since I'd thrown them together the night before while chatting on the phone with my sister. There's something universally joyful about that combination of marshmallow and chocolate that makes people's eyes light up, regardless of age.
Ingredients
- Unsalted butter (6 tablespoons plus extra for greasing): Using unsalted butter lets you control the salt level perfectly, and greasing your pan with butter instead of oil adds an extra layer of flavor
- Mini marshmallows (10 ounce package): Mini marshmallows melt faster and more evenly than regular sized ones, which means less time stirring and less chance of burning
- Rice Krispies cereal (6 cups): Measure precisely because too much cereal makes dry treats while too little leaves you with a gooey mess
- Fine sea salt (¼ teaspoon, optional): A pinch of salt cuts through all that sweetness and makes the chocolate flavor really sing
- Semisweet or dark chocolate chips (1 ½ cups): Quality matters here since the chocolate is the star of the show
- Vegetable or coconut oil (1 teaspoon): This makes the melted chocolate perfectly smooth and glossy for that professional finish
- Rainbow sprinkles or chopped nuts (2 tablespoons, optional): Add these immediately after pouring the chocolate or they won't stick properly
Tired of Takeout? 🥡
Get 10 meals you can make faster than delivery arrives. Seriously.
One email. No spam. Unsubscribe anytime.
Instructions
- Prepare your pan:
- Lightly butter an 8x8 or 9x9 inch baking pan, paying special attention to the corners
- Melt the butter:
- Warm butter in a large saucepan over low heat, stirring constantly so it doesn't brown or burn
- Add the marshmallows:
- Pour in the mini marshmallows and keep stirring until they're completely melted and smooth
- Season the mixture:
- Remove from heat and stir in that optional pinch of sea salt
- Combine with cereal:
- Add Rice Krispies and fold gently until every piece is coated with marshmallow
- Press into the pan:
- Transfer the mixture to your prepared pan and press firmly with a buttered spatula or hands
- Let it rest:
- Allow the treats to sit at room temperature for about 10 minutes
- Melt the chocolate:
- Combine chocolate chips and oil in a microwave safe bowl, heating in 30 second intervals and stirring until smooth
- Top with chocolate:
- Pour the melted chocolate over the cooled treats and spread it evenly
- Add the finishing touches:
- Sprinkle with rainbow sprinkles or nuts right away while the chocolate is still wet
- Set completely:
- Let everything set at room temperature for at least an hour or refrigerate for 20 to 30 minutes
- Cut into bars:
- Lift the block from your pan and cut into 12 to 16 bars with a sharp knife
 Save Pin
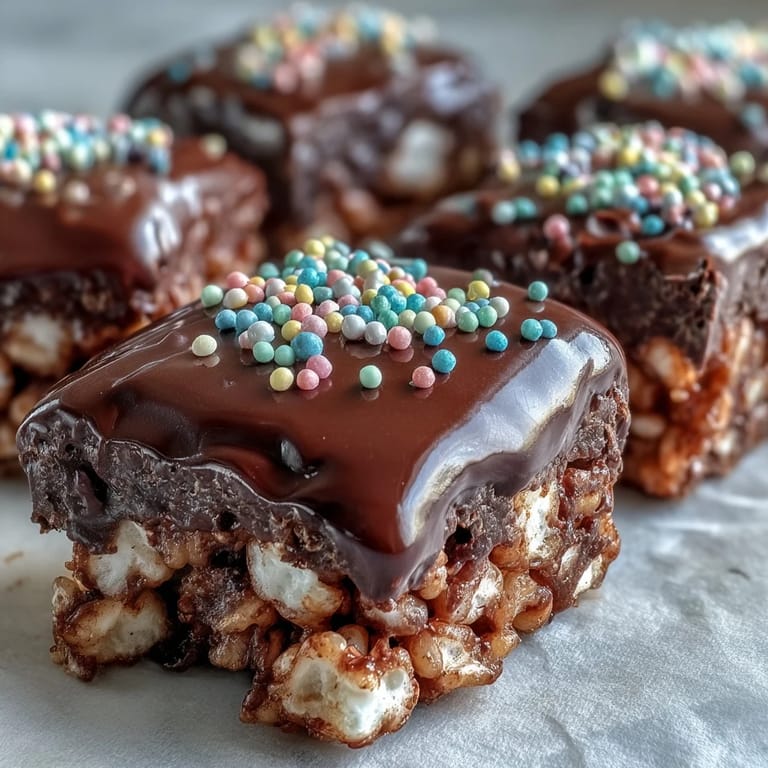
 My neighbor texted me at midnight after trying these, demanding the recipe because her husband wouldn't stop talking about them. There's something deeply satisfying about taking such a nostalgic treat and elevating it into something that feels fancy but still tastes like home.
Making Them Ahead
These treats keep beautifully in an airtight container at room temperature for up to three days. If you need them to last longer, the fridge extends their life to a week, though the texture will be slightly firmer.
Chocolate Tips
For that gorgeous professional finish, let your melted chocolate cool to about 88°F before pouring. This prevents the chocolate from sliding off the sides and gives you that perfect glossy coating.
Fun Variations
Stir half a teaspoon of vanilla extract into the melted marshmallows for extra depth. Switch to white chocolate and pastel sprinkles for baby showers or spring celebrations, or try drizzling both dark and white chocolate in zigzags for extra visual impact.
- Add crushed candy canes during winter holidays
- Mix in peanut butter chips for a Reese's style twist
- Press in pretzel pieces before the chocolate sets for salty crunch
 Save Pin
 Watch these disappear at your next gathering and enjoy being the person who made something so simply delicious.
Recipe FAQs
- → How long do these treats stay fresh?
Store them in an airtight container at room temperature for up to 3 days, or in the refrigerator for up to a week. Proper storage helps maintain their delightful texture and flavor.
- → Can I use a different type of chocolate for the topping?
Absolutely! While semisweet or dark chocolate is common, you can experiment with milk chocolate or even white chocolate. For white chocolate, consider adding food coloring for festive variations.
- → What's the best method for cutting clean bars?
Ensure the treats are fully set before slicing. Using a sharp knife that has been lightly buttered can help prevent sticking and ensure neat cuts. If refrigerated, let them sit at room temperature for a few minutes first.
- → How can I enhance the flavor of the marshmallow base?
Stirring ½ teaspoon of vanilla extract into the melted marshmallows adds a wonderful depth of flavor. You could also try a pinch of sea salt, as suggested, to balance the sweetness.
- → Can I make these treats in advance for a party?
Yes, these are excellent for making ahead! Prepare them up to 2-3 days in advance and store them properly in an airtight container at room temperature. This allows the chocolate to fully set and flavors to meld.
- → Are there any allergen considerations I should be aware of?
These contain milk (butter, chocolate) and may contain soy (chocolate chips). Rice Krispies cereal may contain barley malt, indicating gluten. If using nuts as garnish, they will also contain nuts. Always check ingredient labels.